Can You Overseed in the Spring?
If you’re looking to achieve thick, green, and healthy grass, overseeding is the answer. However, this common lawn care process is often done in the fall. This raises the following question: can you overseed in the spring?
Yes, overseeding can still be done in the spring – but it won’t be as effective. It’s better to wait it out and plant new seed in the fall. If you’re in a rush to get this job done, you can still follow the below guide to get the most out of your grass seed.
Overseeding Basics
Let’s start off with the basics. What is overseeding? Overseeding is a lawn care maintenance technique where you add new grass seed to your lawn, without removing grass that is already planted there.
In other words, overseeding is useful for repairing thin patches of grass, without tearing the lawn up. But it can also improve the variety of grass already growing and even help you change the grass type down the road.
Benefits of Aerating First
It’s no secret that the best time to overseed is in the late summer/early fall. This is when temperatures are cooler and the soil is warm. But you can still reap some of the benefits by following this practice in the spring.
But you should know that aerating should always be done before overseeding. Here’s how aerating can help:
- Relieves soil compaction from winter
- Allows nutrients to enter the soil
- Improves rain water drainage for spring
- Lets more oxygen into the ground
- Enhances the germination process
- Fixes brown and yellow spots in lawn
- Creates an environment for thick grass

How to Overseed in the Spring
There’s more to overseeding than just throwing down some new seed. This may grow grass in some areas, but it won’t be as effective. You will need to follow all of the steps listed below for the best results.
1. Adjust Mower Height
The initial step to overseeding is mowing the lawn. First, you will need to adjust your blade height between 1.5 to 2 inches. You can’t leave the grass too long, because of the aeration process required later on.
It’s crucial to mow before aerating, as it will give you better results and prevent the aerator from getting damaged. Long grass can clog up the aerator during the plug removal process and damage your machine.
Adjusting your mower height will vary depending on your specific make and model. It’s difficult on my self propelled walk behind mower, because I have to lift up the front end to raise or lower the blades.
2. Dethatch
Once the lawn is mowed to the correct height, you can move on to dethatching. This will remove a thick layer of dead grass, leaves, and other organic material on your lawn that hasn’t had a chance to break down.
You can think of thatch as a layer of dead grass covering the soil. The problem is that it can block air and water from entering the ground. This will have a negative impact on your grass, because roots will not be able to receive essential nutrients.
Dethatching can be done with a machine, or rake. Obviously a machine will be much easier on your body and it won’t take as long. It all comes down to how big your lawn is and how much time you have. Both options will get the job done.
3. Aerate
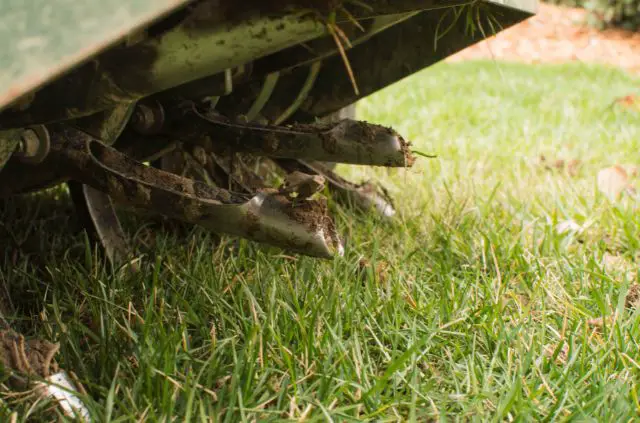
Now that the lawn has been cut and thatch removed, it’s time to aerate. It’s best to use a core aerator, as it removes dirt plugs from the ground. Other types of aerators will just push holes into the soil – which won’t do much.
Core aerators can be rented at your local hardware store. I don’t recommended aerating your lawn by hand – unless you have a small yard. I did this once on a small section of my lawn and it still took hours. A machine is the much easier way.
It also helps to aerate a couple days after a rain. The ground should be moist – but not soaking wet. You want to find a balance where dirt plugs can be removed easily, without the machine sliding around on the surface.
4. Overseed
Now that the hard part is out of the way, you can finally overseed your lawn. The type of grass seed you need will depend on your specific location and climate. But you can always ask an employee at your local hardware store.

You also might want to get a soil test to figure out exactly what your lawn needs. Either way, overseeding is a fairly straightforward process. All you need to do is measure your yard and figure out how much grass seed you need.
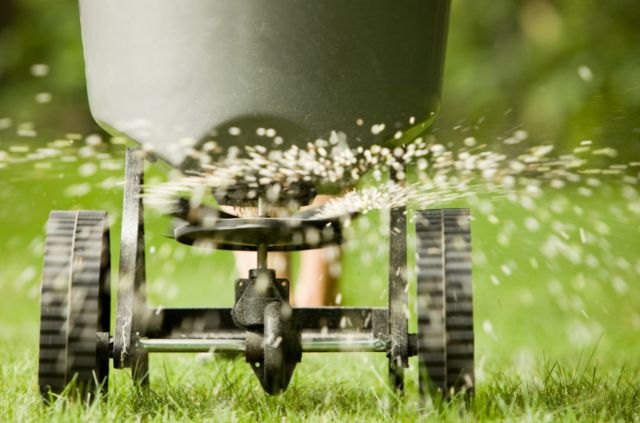
Then put the seed in a walk behind spreader and apply it to your lawn. Most directions tell you to walk at a brisk pace, but it’s always a good idea to check the bag. Just make sure to cover the entire surface area.
5. Water
Watering is the last and most important step to overseeding. After all, new grass seed requires water to grow. You can consult the directions to make sure you’re using enough water on the type of grass seed you applied.
A general rule of thumb requires 1-2 inches of water per week. That means if you’re overseeding in the spring, you might not need to turn on the sprinklers. There is usually enough water this time of year for new seed to grow.
Having an irrigation system is great, but you also don’t want to use too much water on the lawn. Too much water can wash away new seed and have a negative impact on the germination process.
Final Thoughts
Overseeding your lawn is a crucial step to lawn care maintenance. Even though you can overseed in the spring, most homeowners choose to do it in the fall.
Regardless of which option you choose, it’s something that can benefit your lawn. Just make sure to follow the steps listed above, so you can get the most out of overseeding.
Search Terms
- Can you overseed in the spring?
- How to overseed in the spring


