Deck Fuzzy After Power Washing (Solved)
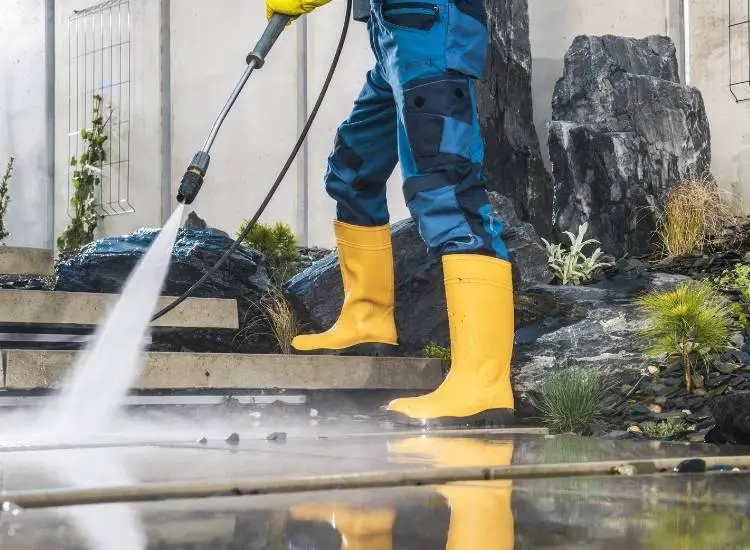
Power washing (also called pressure washing) is a useful way to clean exterior surfaces around the house. You can use this tool to clean patios, sidewalks, and decks. If your deck is fuzzy after power washing you’ve come to the right place.
Fuzzy deck is when high amounts of water pressure remove the surface finish. This is most common on older decks, or when you use the wrong wand attachment. In this article you will learn how to fix a fuzzy deck and how to prevent it from happening in the future.
Why Wood Decks Get Fuzzy
Pressure washers have unbelievable cleaning power. At the same time they are not a magic fix to everything. Sure, these handy tools can wash away even the most stubborn dirt around your house. But one downside is that they won’t make surfaces look new again.
If you have an older deck for example, this is how the surface finish can appear fuzzy right after washing. Even though the pressure washer removes most of the dirt, you still have an old piece of wood that has been battered by the elements of nature.
Now that doesn’t mean you have to go spend thousands of dollars on a new deck. All you need to do is remove a very thin layer with a sander, in order to expose fresh wood. Once this task is completed you can protect the new finish with a high quality deck sealer.
How to Fix a Fuzzy Deck
There’s no need to worry if you’ve just discovered a fuzzy deck after power washing. You can fix this common problem by power washing the surface and sanding the wood. Take a look at the step-by-step instructions below.
1. Clean the Area
It’s crucial to clean the work area before beginning any type of home improvement project. You will need to remove outdoor furniture, grills, and any other objects. These things will get in your way during the process and make the job much more difficult than it has to be.
But you also don’t want to damage expensive items like your grill either. You should also check the weather forecast ahead of time and make sure you have a few days without rain.
Most deck sealants cannot get wet for at least 24 hours after they are applied. It’s a good idea to reserve 2-3 days anyway, as most projects take longer than you might expect. Other factors like having a large deck will also take more time than you think.
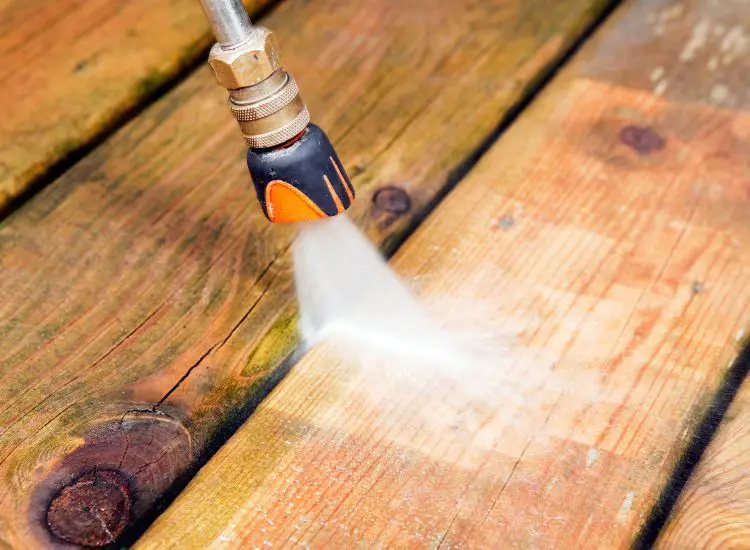
2. Pressure Wash
Some people might argue that there’s no reason to pressure wash before sanding – but I would disagree. If you skip this step there’s a chance you could push dirt and other contaminants further into the wood.
But it can also help prevent from damaging your sander and going through too many pads. Using a sander on a dirty surface will use up the pads at a much faster rate. When it comes to pressure washing, you can either use a 25-degree or 40-degree nozzle attachment.
Any nozzle lower than these numbers will be too aggressive for the surface. This is an important thing to remember, because pressure washers have the capability to damage soft surfaces like wood. You are looking to clean the surface – not strip it entirely.
3. Sand the Surface
Once the deck is totally cleaned, you can move on to the sanding stage. It’s best to use a heavy duty sander with a long handle. You can get the job done much quicker and save your back in the process. Kneeling on the deck with a handheld sander is tough work.
The good news is that most hardwood stores have these machines available for rent. So, you don’t have to spend hundred (or thousands) of dollars on a new one. Move slowly with the sander and make sure to cover all areas of the deck.
You can do overlapping motions, but always remember to sand with the grain and not against it. This will create a better looking finish and help when it comes time to stain. Make sure to take time during this process, as rushing will produce sloppy looking results.
4. Seal and Protect
When you have removed the old layer of wood, you can protect the fresh layer with deck sealer. This is a transparent liquid that seeps down deep into the wood grain. The end result is a clear film on the surface the enhances the wood’s natural finish.
This product will maintain the wood and helps it look better for a longer period of time. Without a deck sealer, the wood will be exposed to rain, snow, and all of the other harsh elements of nature. It would not last without sealer and you would have to redo the entire deck.
Deck sealer can be applied with a brush and roller. Use a brush on harder to reach areas the the stairs and railing. Then follow up with a roller on the deck surface. Every product is different, but most sealants will need to dry for 24 hours before you can walk on them.
5. Get on a Schedule
One of the best ways to prevent a big job like this in the future is to get on a maintenance schedule. If you stain your deck once a year, you won’t have to worry about taking the time to sand down the old layer first.
That only happens after years of neglect. The best time to do this is during the late summer, or early fall. Temperatures will be much more comfortable to work in and you will have enough time to prepare the deck before winter.
All you need to do is spray down the deck with a 40-degree pressure washer nozzle and wait for the wood to dry. Finish up by applying a similar stain to the wood and allow it to settle for at least 24 hours before walking on the surface.
Further Reading
- How to Use a Pressure Washer to Remove Paint from Deck
- What Size Surface Cleaner Do I Need?
- Can You Use a Surface Cleaner on a Deck?
Search Terms
- Deck fuzzy after power washing fix
- Deck fuzzy after power washing solution