How Long Before You Can Drive On Pavers?
Building a driveway out of pavers can add aesthetic curb appeal to the exterior of your house. Pavers not only look much better than asphalt, but they also add value to your home. In this article we will answer the following question: how long before you can drive on pavers?
The good news is that you can drive on pavers immediately after they have been installed. They don’t require any waiting time unless you applied sealer as the last step. This will protect the surface, but a sealer will need at least 24 hours before you can drive on them.
What are Pavers?
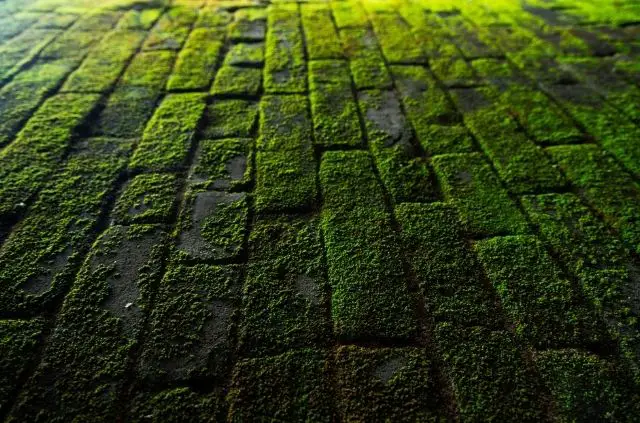
Pavers (also known as paving stones) are construction materials used for outdoor flooring. They are typically installed for driveways, patios, and walkways. Pavers are made of concrete, natural stone, and brick. Some styles have interlocking joints that make installation quick and easy.
Pavers come in a variety of shapes and colors, which makes them a great choice for exterior flooring. They look much better than a regular asphalt driveway, or concrete sidewalk. Pavers are an affordable option for homeowners and installation is relatively easy, which can also save on cost.
How Long Before You Can Drive On Pavers?
Unlike asphalt and concrete, pavers don’t require any time to settle and you can drive on them immediately. Pavers get applied directly on top of gravel and interlocking joint sand goes in between the joints. This makes the blocks very secure, so you don’t have to worry about them shifting when driving and walking on the them.
However, you will need to wait before driving on pavers if you choose to seal them. A sealant gets sprayed directly to the surface and requires at leas 24 hours to dry. Sealants make the pavers more secure and they protect the edges from chipping. They can also make cleaning easier, because there is a layer of protection from mold and mildew.
Can You Drive on Concrete Pavers?
There’s nothing wrong with driving on concrete pavers. It’s perfectly safe as long as the blocks have been installed correctly. This includes flattening out the ground, applying a layer of gravel and installing joint sand to secure the pavers. With all of these methods the pavers will not shift or move from the weight of a vehicle.
How Pavers are Installed for a Driveway
Installing pavers for a driveway is similar to building a patio. You will need to level out the ground and create a layer of gravel, before putting down the blocks. Once this has been done you can throw down joint sand for added strength. This will guarantee that your concrete pavers will not shift with time.
1. Prepare the Area
Before starting the process of actually laying down the pavers, you will need to prepare the area first. Figure out where the best place is for your driveway, patio, or other external surface. It will help to map out the area if you’re building a driveway out of pavers. Look at what types of stones and colors would look best with your house.
You should also begin to measure the area during this initial stage. Map out the length and width of your driveway to figure out the size. You can find out the square footage by multiplying these two numbers. For example, a 50 foot long by 10 foot wide driveway would be 500 square feet. But you can always go over this number a little to be safe.
2. Flatten Dirt
When you have all of the supplies and figured out the exact square footage, the project can begin. The first thing you will need to do is flatten the dirt for the driveway. You’re probably not going to want to do this with a shovel, as heavy equipment will get the job done much faster. This can also be outsourced to a construction company.
Flattening the dirt will create an even surface for the pavers. The ground will have natural bumps and imperfections that pavers will not stay flat on. Removing a few inches of dirt will create a level surface to work on and make the pavers more secure. You can’t put pavers on grass because they would just wash away when it rained.
3. Put Down Gravel
The next step is to apply a layer of gravel on the ground. Pavers can be placed directly over the dirt, but it helps to add these small rocks for a number of reasons. Gravel can help if you’re building a driveway on a slope, or the area is uneven. This material will add an additional layer of protection by keeping the pavers securely in place.
If you live in an area where the ground will not freeze, you can place the pavers right on top of dirt. Just make sure to remove any weeds before laying them down. But applying gravel can also help keep weeds from growing in between your pavers. That’s why it makes sense to use these rocks in order to prevent weeds from popping up in the future.
4. Install the Blocks
Once the gravel has been installed and leveled, it’s finally time to lay down the pavers. This step will vary depending on the specific type of blocks you purchased. Some pavers will be interlocking, which can make them more secure during normal use. The easiest way to install pavers is to start in one corner of the driveway and work your way out.
It’s important to stick with a design and even map it out beforehand. This will keep you from producing sloppy results, because the paver pattern will be consistent. Try to lay the pavers down as close together as possible to keep them from shifting. You don’t want to have large gaps in your driveway, as they will expand with time.
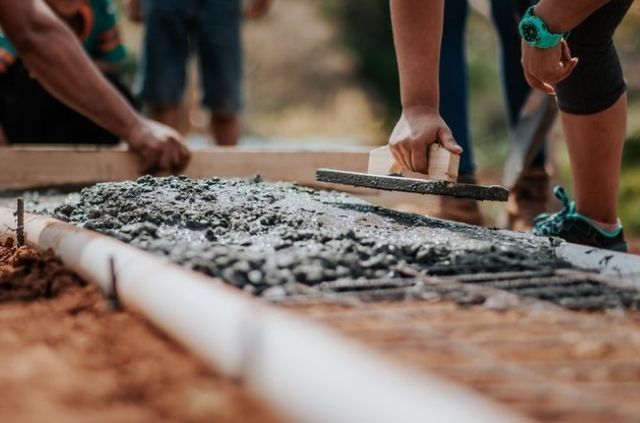
5. Put Down Sand
After you have installed each paver block, the final step is to put down sand. Polymer sand is a material used to fill the space in between concrete pavers. It’s made up of fine particles and it’s much thinner than regular sand. The application process is easy – all you need to do is sprinkle the sand down over the entire driveway.
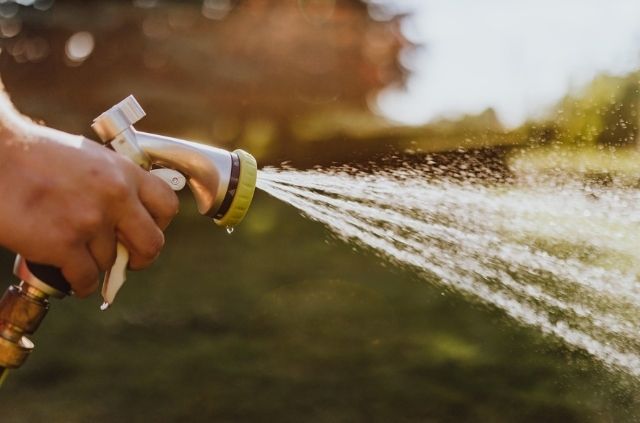
You can further push the polymer sand into the paver joints with the help of a broom. Sweep the entire surface area to push all of the sand into these fine cracks. There still might be some sand left over when your done, so make sure to remove this. When the joints have been filled you can lightly spray the area down with water for the sand to harden.
Final Thoughts
Hopefully this article has helped you understand that you don’t have to wait before driving on pavers. Unlike asphalt and concrete, pavers are solid blocks and do not require any time before regular use.
The only time you need to wait before driving on pavers is if you applied a sealant. This will require at least 24 hours to fully dry first. A sealant will make the pavers glossy and it will secure the surface of the block.
Further Reading
Search Terms
- How long before you can drive on pavers?
- How pavers are installed for a driveway