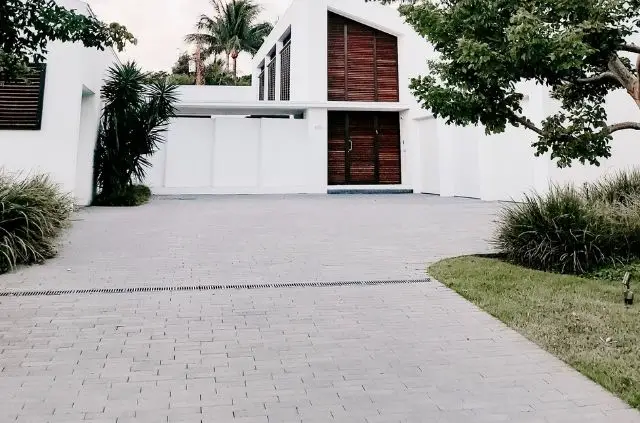
How to Stop Pavers Sinking After Rain
There’s nothing like a nice summer day of grilling and relaxing on your patio. This type of outdoor flooring can really brighten up the exterior of your home and look nice for visitors. But what happens if your patio is beginning to look uneven? In this article we will discuss how to prevent pavers from sinking after rain.
Why Do Pavers Sink?
Depending on where you live, your pavers might be sinking from a handful of different reasons. Too much water on the surface, changing weather conditions, and a faulty base can contribute to this issue. If you can’t figure out why your pavers are sinking, take a look at some of the common problems listed below.
Poor Drainage
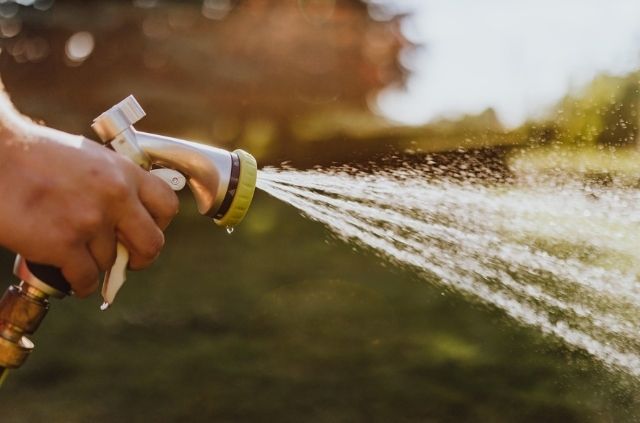
If your patio is covered with puddles on a regular basis, there may be a drainage problem. A paver surface installed correctly will look flat but it will have some degree of slope to allow for proper water drainage. If you have a downspout draining onto your patio all you need to do is redirect the gutter system.
But if there’s no visible water source dispersing over the pavers there could be a bigger problem. Figure out if the patio has a slope needed for drainage. If the surface is flat you will need to lift up the pavers and build a new base. You can use gravel or sand to create a new slope, so there won’t be any water spots in the future.
Changing Weather
One of the most common reasons why pavers sink is due to changing weather conditions. If you live in a climate that experiences four seasons, you should know that soil freezes in the winter and thaws in the spring. The ground will continue to expand and contract with this constant change in temperatures.
This can present some problems when it comes to your walkway, patio, or driveway. During the spring for example, the soil can thaw out and be at a lower level than it was before. As a result, the pavers will continue to sink as the seasons change. There’s no way to prevent this, so you will need to lift up the pavers and add more base layer.
Faulty Base
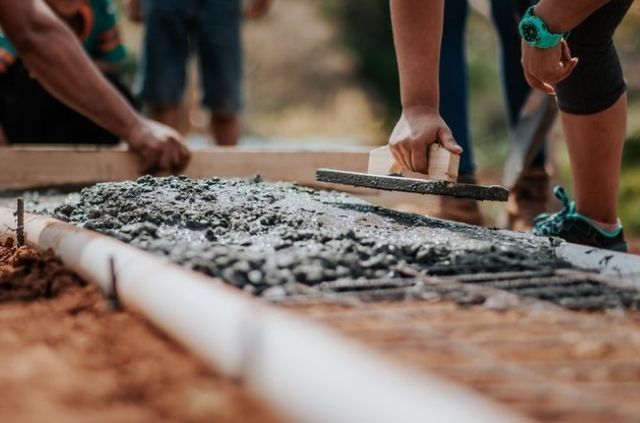
There are many steps to correctly building a patio out of pavers. Installing a solid base out of gravel or sand is an important step that should not be skipped. The problem is that many do-it-yourself homeowners take on this project and lay the pavers directly onto the dirt. If the pavers are sinking after rain, you might have a faulty base.
To build a surface with pavers you first need to remove around 4-6 inches of soil. Once the ground has been flattened and leveled, then you can add compacted gravel and sand. This crucial base layer will prevent the paver blocks from sinking further down. The gravel and sand act like a barrier between the pavers and the soil.
How to Fix Pavers Sinking After Rain
Sunken pavers will not only make your patio look ugly, but they can also be a tripping hazard. One of the easiest and fastest ways to fix this problem is to repair the base layer. This will create a fresh surface underneath the blocks that will prevent your pavers from sinking.
1. Identify the Problem
Unless you’re working with an extremely old house, chances are there’s only a small section where the pavers are sinking. That’s why the first step is to identify the problem area. You can use a level to figure out just how uneven the surface is and make a note of it. It also helps to replace any pavers that have become damaged with rain.
Because sunken pavers have corners sticking out, it’s much easier to trip on them from regular use. As a result, the brittle edges can get chipped and break. That’s why it’s crucial to replace these concrete blocks before you go ahead and level the surface. You don’t want to fix your uneven patio only to place broken pavers back down.
2. Remove Sunken Pavers
Once you’ve mapped out the area, the next step it to actually remove the sunken pavers. It helps to pull up the paving stones about 12 inches past the problem area, as this will give you more surface area to work with when it comes time to lay sand and gravel. Carefully lay the blocks to the side so you can prevent them from getting damaged.
You might discover that the pavers are more difficult to remove than you anticipated. If this is the case a putty knife will make the process much easier. You can remove any moss, dirt, or anything else that is preventing the pavers from moving. Just make sure not to be overly aggressive during the process, as you don’t want to cause any damage.
3. Clean Bedding Layer
Before cleaning out the bedding layer, don’t forget to remove any moss and excess dirt on the perimeter of the problem area. All of this junk will be stuck to the blocks from any water that drained down into the ground. If there was poor drainage issues in the problem area, moss will have likely started to grow around the perimeter.
This will make things much easier when you go to place the stones back into the ground. Use a large putty knife to scrape all of these debris into a small area, before removing them with a shovel. You don’t want there to be any contaminants left over in the bedding area, as this can potentially impact water draining in the future.
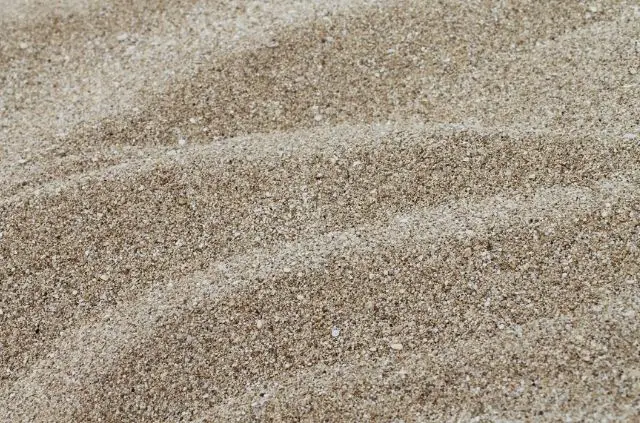
4. Add Gravel & Sand
After the bedding area has been cleaned you can add a fresh layer of gravel and sand. Medium size gravel is the most popular choice to establish a patio base, because it has the ability to compact tightly. You don’t want to use large gravel as this will allow too much water drainage and it will be much more difficult to compact.
The same rule applies with small gravel. This type of gravel will be too fine and it won’t leave enough room for water to pass through. As a result, there will be puddles on your paver patio. After the medium gravel has been compacted down, you can apply a layer of sand. Sand will make it much easier to level out the surface for the next step.
5. Lay the Pavers
Now that more gravel and sand has been added you can final lay the paving stones back down. One tip that helps when placing the stones is making sure there is no dirt on them. You can lightly clank two paving stones together, in order to remove any excess dirt. The key is to do this gently, as you don’t want to break the blocks.
Don’t forget to follow the same pattern that the rest of the patio has. If you lay the pavers back down in a random order, it will look sloppy and be obvious that the stones were removed and placed back down. Once the pavers are settled you can finish up by applying joint sand. This material will prevent the pavers from shifting.
Conclusion
It’s easy to fix pavers sinking after rain in just a few steps. All you need to do is remove the blocks and apply a fresh layer of bedding, before placing the pavers back down. This can be completed in a couple of hours as long as you have the right tools needed for the job.
Further Reading
Search Terms
- Pavers sinking after rain
- How to fix sinking pavers