How to Flush a Radiator with a Garden Hose
Flushing your radiator is an essential part of vehicle maintenance.
If you’ve noticed your car overheating or having poor coolant circulation, it might be time to give your radiator a good cleaning with just a garden hose.
You don’t need to be an expert mechanic to do this task.
With a few basic tools and a little bit of time, you can efficiently flush your radiator and keep your vehicle running smoothly.
Parts and Tools Needed
Before you begin, gather these essential items:
- Garden hose: This will be used to flush your radiator and should ideally have a good flow rate and pressure control.
- Radiator flush solution: You can find it at your local automotive store or online. Make sure it’s specified for your car’s make and model.
- Bucket or drain pan: Make sure it has enough capacity to hold the radiator’s coolant.
- Funnels: To help with pouring the radiator flush solution and refilling the coolant.
- Wrench: Needed for disconnecting and reconnecting the hoses during the process.
- Screwdriver: May be required for removing any clamps holding the hoses in place.
- Rags and towels: Useful for any spills or cleaning purposes.
- Safety gear: Don’t forget gloves, goggles, and proper clothing to protect yourself from chemicals and hot parts.
Now that you have everything you need, you are ready to flush your radiator with a garden hose.
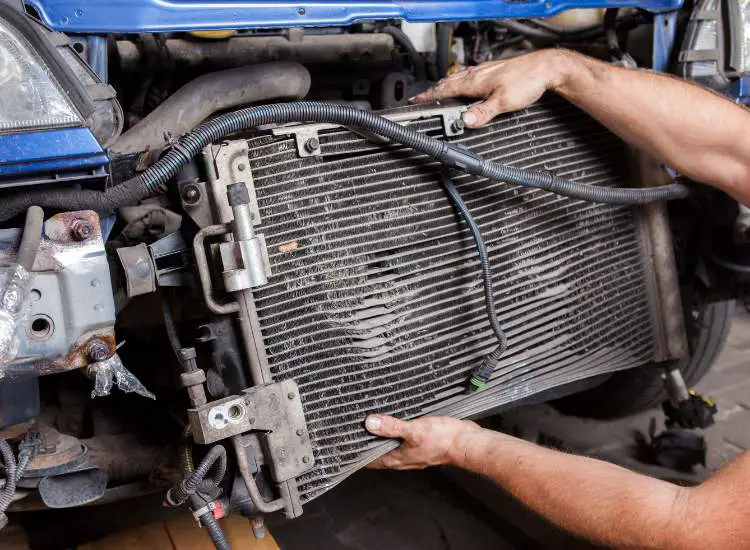
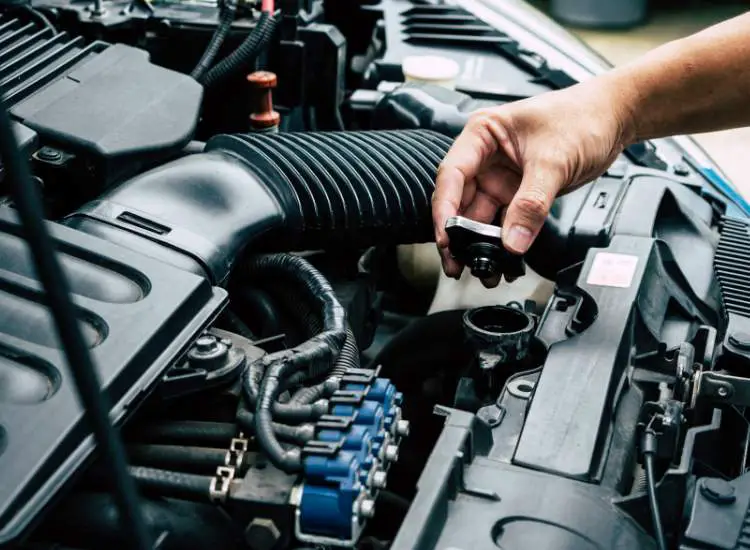
Step 1: Locating the Radiator Drain Plug
First, ensure your vehicle is parked on a flat surface and the engine is cool. Next, open the hood and locate your vehicle’s radiator.
The radiator drain plug is typically found at the bottom of the radiator. It’s usually a small, plastic or metal screw that can be turned by hand or with pliers. Keep your eyes out for a spout or small valve.
Once you’ve spotted the radiator drain plug, place a large container underneath it to catch the coolant that will be released during the flushing process. This will help you dispose of the coolant safely and prevent it from harming the environment.
Step 2: Prepping the Garden Hose
First, find a good quality garden hose with a standard size nozzle. Make sure it’s long enough to reach from your water source to your vehicle’s radiator.
Before moving forward, ensure the hose is clean and free of debris. If necessary, run water through it to flush out any dirt that may have accumulated inside.
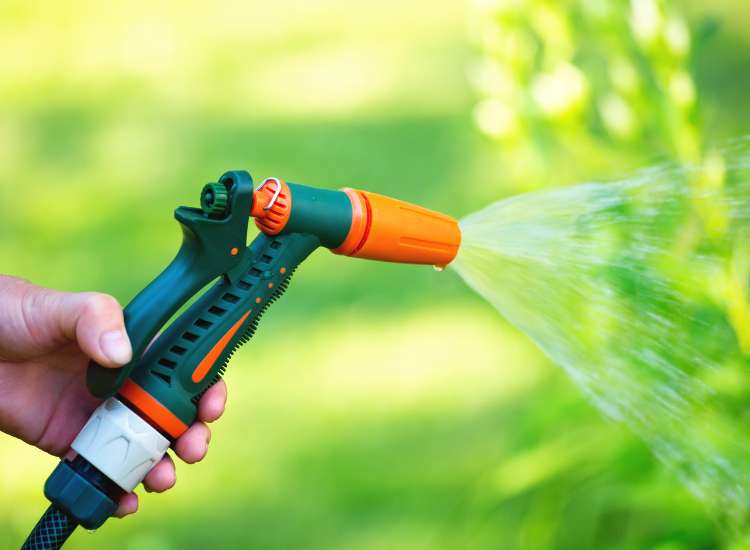
Next, attach a hose nozzle or spray attachment if you have one. This will help regulate the water flow and make it easier to control the process.
Now, turn on the water at the source, adjusting the flow to a moderate stream. You don’t want the pressure to be too high as it might cause damage to your radiator.
Step 3: Connecting the Hose to the Radiator
Before connecting the hose, make sure your car engine is off and cool to avoid burns. Locate your car’s radiator drain valve, also called a petcock; it should be at the bottom of the radiator on the driver’s side.
Now, attach one end of the garden hose to the faucet. At the other end, place the nozzle in your radiator’s drain valve. Ensure it’s a snug fit.
Once the hose is attached, gently turn on the faucet. Start with a slow flow of water. You can gradually increase the water flow until your desired pressure is reached.
While flushing the radiator, observe the water running out of the radiator. When the water runs clear, you’ve successfully flushed your radiator. Remember to shut off the faucet and carefully disconnect the hose from the radiator and the faucet.
Step 4: Flushing out the Radiator
Before you start, make sure your car engine is cooled down. Then, locate your vehicle’s radiator and the drain valve at its bottom.
Place a bucket or other container beneath the drain valve to catch the liquid. Slowly open the drain valve to let the radiator fluid drain, and be careful as the fluid might be hot. Close the drain valve after it has completely drained.
Now, connect your garden hose to a water source. Insert the hose into the radiator’s top opening (where the cap was removed). Turn on the water supply and let the fresh water flow into the radiator.

As you’re filling the radiator with water, watch for the exiting liquid from the drain valve. Once the water flows out clear, turn off the water supply and remove the garden hose from the radiator.
Finally, close the drain valve and refill the radiator with the appropriate amount and type of coolant. It’s essential to use the correct coolant type recommended by your vehicle manufacturer. Check your owner’s manual for specifics.
Step 5: Detaching the Hose and Replacing the Radiator Plug
After letting the water flow through the radiator for a few minutes, it’s time to detach the hose. Carefully disconnect the garden hose from the radiator, making sure to avoid any spills.
Now that the hose is removed, grab your radiator plug. Before putting it back into place, make sure it is clean and free of debris. Then, carefully screw the radiator plug back into its original position, ensuring a proper fit.
With the radiator plug securely in place, double-check your work. Make sure there are no visible leaks or loose fittings. You’ve successfully flushed your radiator with a garden hose! Remember to maintain your radiator regularly to keep your vehicle running efficiently.
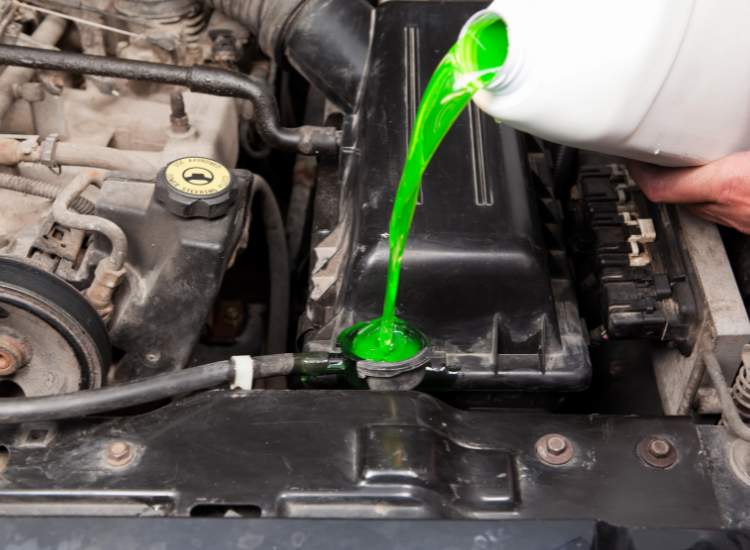
Step 6: Filling Radiator with Coolant
Now that you’ve flushed the radiator, it’s time to fill it with coolant. Begin by slowly pouring a 50/50 mix of coolant and water into the radiator.
During this process, be sure to check the vehicle owner’s manual for the recommended type of coolant. Keep adding the mixture until it reaches the top of the radiator.
Next, start your car with the heater turned on to the highest setting. This will help circulate the new coolant throughout your cooling system. Leave the car running for a few minutes, keeping an eye on the coolant level.
As you see the coolant level drop, continue adding the coolant mixture to maintain the level at the top. Eventually, the level should stabilize. Once it does, replace the radiator cap and ensure it’s secured in place.
Troubleshooting Common Problems
If you encounter issues when flushing your radiator, don’t worry. Here are some solutions to common problems:
- Garden hose not fitting securely: Check that the hose is properly connected. You might need an adapter, or simply tighten the connection.
- Water not flowing through the radiator: First, ensure that the radiator drain valve is fully open. If that’s not the cause, there could be a blockage. Use a radiator cleaner or a pressurized water source to clear any debris.
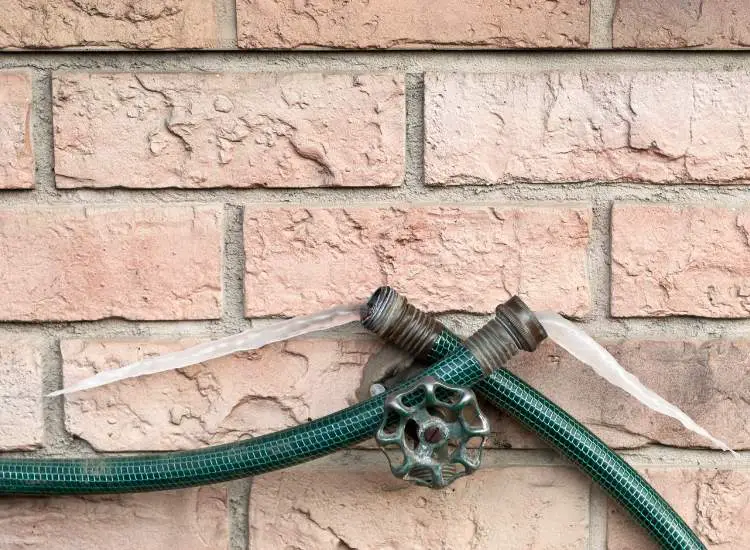
- Leaking hose, valve, or radiator: Inspect for any visible damage. If you find a leak, you may need to replace the damaged part. Always make sure that all connections are secure.
- Inconsistent water flow: This could indicate air pockets trapped inside the radiator. Run your vehicle’s engine, turn on the heater, and let the radiator flush for several minutes. This helps to release any trapped air.
- Discolored or rusty water: If the water is not clear after several flushes, continue the process until it runs clear. This indicates that stubborn debris and rust are being removed. Patience is key.
Frequently Asked Questions
What is the best way to flush a radiator using a garden hose?
First, make sure your engine is cool. Then, drain the old coolant by removing the drain plug at the bottom of the radiator. Attach your garden hose to the radiator and let water flow through until it runs clear. You can manipulate the water pressure for better results.
Are there any radiator flush kits that work with garden hoses?
Yes, there are radiator flush kits available that are designed to work with garden hoses. These kits usually include a backflush adapter and instructions to help make the process even easier.
Can I flush my cooling system at home with a hose?
Absolutely! Flushing your cooling system at home with a garden hose is an effective and budget-friendly way to maintain your vehicle’s cooling system. Just ensure you follow proper safety precautions.
Should I remove the thermostat before flushing the radiator?
It’s a good idea to remove the thermostat before flushing, as this will ensure a more thorough cleaning of the radiator. This can help unclog any stubborn particles within the system.
How do I clean a clogged radiator using a garden hose?
To clean a clogged radiator, first remove it from the vehicle. Then, connect your garden hose with the aid of an adapter, and allow water to flow through it. Adjust water pressure as needed to effectively clean and unclog the radiator.
When should I consider using a homemade radiator flush?
A homemade radiator flush can be considered when you’re dealing with minor cooling system issues or as part of regular maintenance. Be sure to use a trusted recipe, and always follow safety precautions.
More Garden Hose Articles
- How to Measure Garden Hose Size
- Is Hose Water the Same as Tap Water?
- How to Store an Expandable Hose
- Draining a Pool with a Garden Hose
- How to Remove a Metal Hose Connector
- Increasing Water Pressure in a Garden Hose
- Keeping a Garden Hose from Freezing
- Filling up a Pool with a Garden Hose
- How to Shorten a Garden Hose