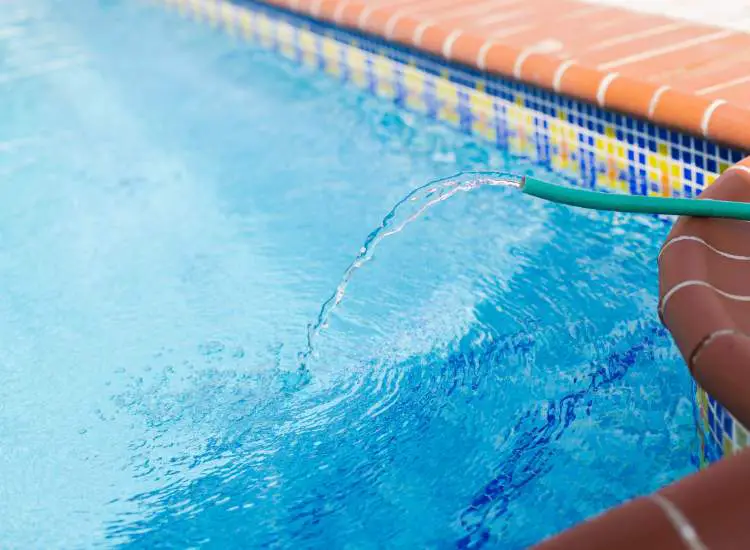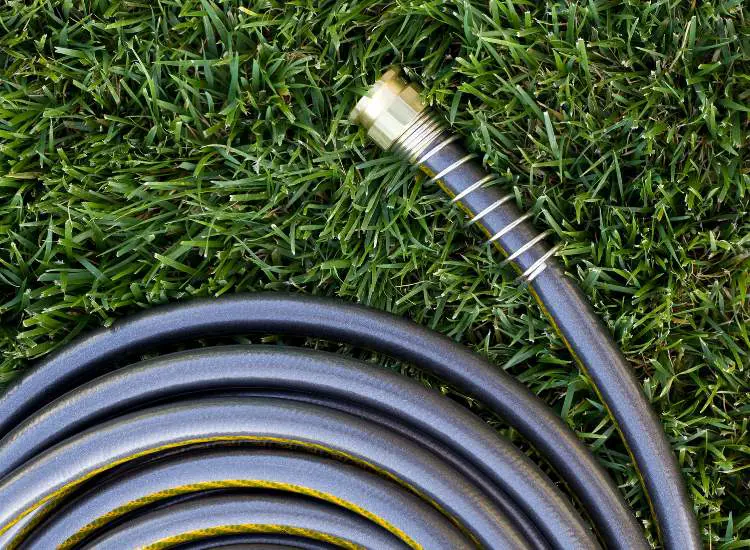
How to Remove a Metal Hose Connector
Removing a metal hose connector may seem tricky, but with the right approach, it can be an easy task. Before you start, gather the necessary tools and materials for a smooth process.

Follow the steps below to successfully remove the metal hose connector without damaging your hose or connector. With patience and proper technique, your hose will be free in no time!
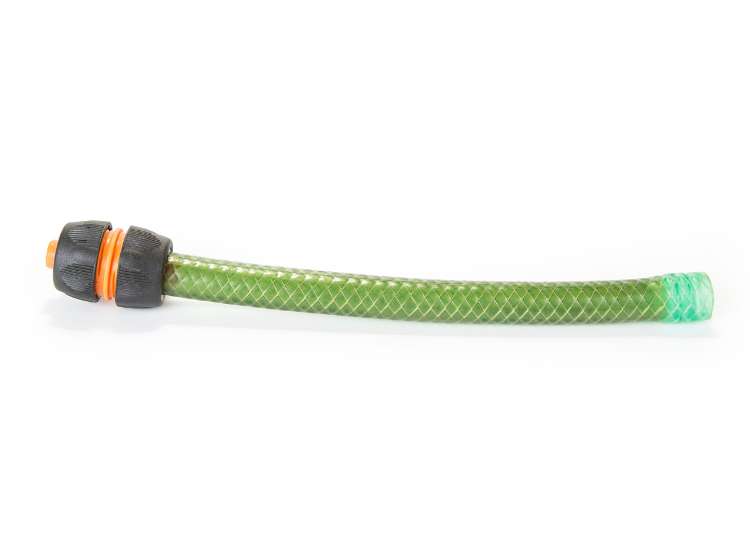
Types of Hose Connectors
When dealing with metal hose connectors, it’s important to know the different types you might find. Here are a few common connectors you may encounter:
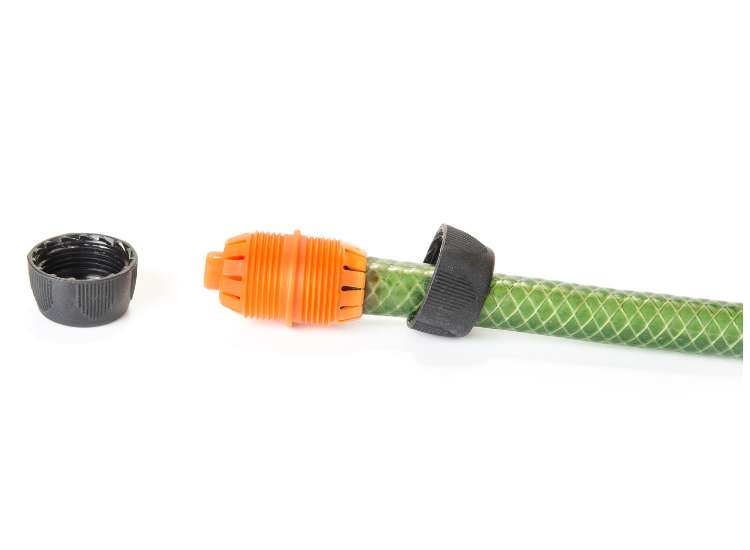
- Threaded connectors are commonly used for attaching hoses to faucets, nozzles, and other fixtures. They have male and female threads for easy and secure connections.
- Quick-connect connectors allow you to easily snap hoses and attachments together. These connectors come in various materials, but the metal versions are typically more durable.
- Barbed connectors are used to join sections of hose together. They have ridges that grip the inside of the hose, creating a strong seal.
- Compression connectors rely on a metal ring or sleeve to secure the hose in place with pressure. This type of connector is often used for high-pressure applications or in situations where the hose needs to be quickly connected or disconnected.
Step-by-Step Removal
1. Loosening the Connector
First, try to loosen the connector by hand. If it’s difficult, use a pair of adjustable pliers or wrench to grip the connector and twist counterclockwise.
Remember to protect the connector with a cloth or rubber pad to prevent damage. Spray some penetrating oil and let it sit for a few minutes to help with the loosening process.
2. Removing the Connector
Once you’ve loosened the connector, you can unscrew it by hand. Make sure to do this slowly to avoid causing any damage to the threads.
If necessary, use pliers or a wrench to hold the hose in place while you unscrew the connector. Don’t forget to dispose of the connector properly according to local regulations.
Troubleshooting Common Issues
Issue: Connector is stuck or rusty.
Solution: Apply a lubricant, such as WD-40, around the threads, and let it soak for 15 minutes. Then, gently twist it using a wrench or pliers.
Issue: Connector is damaged or cross-threaded.
Solution: Carefully file any damaged edges or burrs. Use a pipe wrench to slowly and gently unscrew the connector, being cautious not to force it, as this may cause more damage.
- Tip: To prevent cross-threading in the future, always align threads correctly and begin with a hand-tightened connection.
Issue: Can’t find the right wrench size.
Solution: Invest in an adjustable wrench, which allows you to grip different-sized connectors easily.
Issue: Connector is leaking.
Solution: Check the rubber or plastic hose washer located inside the connector — it may be damaged or missing. Replace the washer and tighten the connection, ensuring that it is firmly in place, but not overtightened.
Final Inspection After Removal
Once you’ve removed the metal hose connector, give it a thorough inspection. Look for any signs of wear, damage, or corrosion that could have caused issues while it was connected.
- Next, examine the threads on both the hose and the connector. If you notice any irregularities, consider replacing the worn components to ensure a secure connection when reassembling.
- During your inspection, pay attention to the rubber seals. Check for cracks, brittleness, or other damage that could lead to leaks. If you find any issues, replace the seals with new ones to guarantee a watertight connection.
- After you’ve assessed all the parts, take the time to clean them thoroughly. A soft brush and some warm, soapy water should suffice for removing dirt and debris. Rinse everything well and allow the components to dry completely before reassembly. This will help maintain the longevity and performance of your hose connection.
Finally, as a precaution, lubricate the threads and seals with a silicone-based grease. This will help ensure a smooth reattachment process and prevent any further damage from friction. Remember to use just enough grease to cover the surface evenly; a thin layer will do the job.
Frequently Asked Questions
How can I unstick a garden hose connector?
To unstick a garden hose connector, try using warm water and a soft cloth to clean the threads. If that doesn’t work, apply a few drops of penetrating oil, wait for about 10 minutes, and gently twist to remove the stuck connector.
What tools are needed to remove a calcified hose connection?
For removing a calcified hose connection, you’ll need an adjustable wrench, a wire brush, and a water and vinegar solution (50/50% mix). Clean the threaded areas with the brush, then soak the calcified parts in the water-vinegar solution to loosen the buildup.
How do you repair a female hose end?
To repair a female hose end, first cut off the damaged end using a utility knife. Next, purchase a hose repair kit containing a replacement female hose end. Slide the clamp onto the hose, insert the new female hose end, and secure the clamp using a flathead screwdriver or pliers.
What’s the best way to replace a male hose connector?
To replace a male hose connector, start by cutting off any damaged parts with a sharp utility knife. Get a replacement male hose connector and a clamp from a hose repair kit. Slide the clamp onto the hose, insert the new connector, and tighten the clamp using a screwdriver or pliers.
How can I prevent hoses from getting stuck together?
To prevent hoses from getting stuck together, lubricate the threads with a waterproof grease or a silicone spray. Ensure both the male and female ends are clean before connecting them. Don’t overtighten the connections when attaching them.
Any tips on detaching a hose splitter?
First, shut off water supply to the hose splitter. Try gently wiggling the hoses, using warm water to clean any debris, or applying penetrating oil to loosen the connections. If necessary, use an adjustable wrench for extra leverage to detach the splitter from the hose.