Rain Diverter vs Gutter Explained
Controlling the flow of rain water on your roof is essential. That’s where rain diverters and gutters come in handy. But how are they different from each other? In this article we will compare a rain diverter vs a gutter and explain how they both function.
What is a Rain Diverter?
Rain diverters have the ability to divert water away from specific sections of the roof. It’s common for rain diverters to be installed over doors, windows, patios, and other similar areas.
You might not want a gutter over your door for example for a couple of reasons. Gutters can stick out and takeaway from the home’s aesthetic, but they can also be difficult to install.
What is a Gutter?
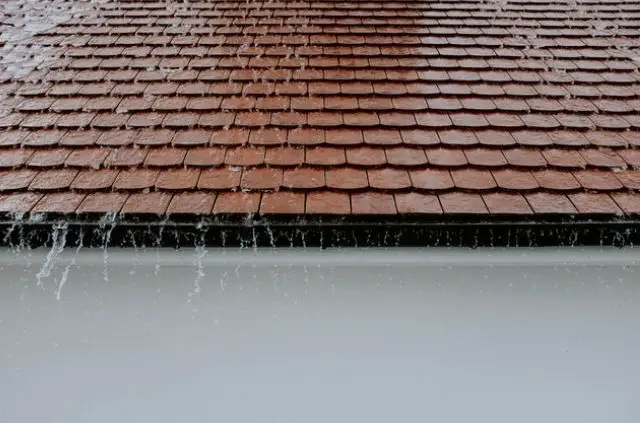
A gutter is a device used to collect rain from the roof and transfer water away from the house. If your home does not have gutters, it can actually cause damage to lower sections of the structure.
The rain would drip directly down and splatter on the exterior boards. This could cause discoloration and rot over a period of time. Without gutters, water could also begin to make its way into the basement.
Rain Diverter vs Gutter – What’s Better?
Comparing a rain diverter vs a gutter isn’t really a fair competition. Gutters are hands down the more useful choice for your home. Rain diverters only work when they are paired in addition to a gutter system.
If your home only had a rain diverter for example, you could avoid water from dripping down onto certain areas. But a rain diverter is not designed to go around the entire house. There would still be rain falling down from the roof and landing on areas below.
As we briefly mentioned in the sections above, this can cause two issues. First, rain will splatter and land on your wood siding. It will not only get dirty, but this water will cause the exterior to rot over time.
But not having gutters can also cause potential problems for your basement. Heavy amounts of rain would seep into the house and make its way to the ground floor. Gutters and downspouts are designed to push water at least 3 feet away from your foundation.
Installing a Rain Diverter
A rain diverter can be installed in just a few easy steps. This is a do-it-yourself type of home improvement project that most people can accomplish themselves. However, if you have no intention of getting up on your roof, it’s best left to a professional.
1. Identify the Area
The first thing you need to figure out when installing a rain diverter is what object needs to be protected. If you want to protect a door from rain, you will need to measure the total width of the door. You can then cut the metal so it will be identical to this measurement.
2. Paint
This next step is very important, because it will help the rain diverter blend in with the roof of your house. Before this step you should wipe the rain diverter down with white vinegar. This will clean the metal and prepare the surface for paint.
When it comes to paint, you won’t be able to find an exact match color of your shingles. But any shade that even comes close to your roof will work. Make sure to use a spray can, because painting with a brush will leave ugly brush marks.
3. Install
Once the paint is fully dry, you can finally install the rain diverter. Begin by using a ladder to access the edge of your roof. Gently lift up a row of shingles using a flat bar. You should install the rain diverter 2-3 courses from the bottom of the roof.
Tilt one end slightly down pointed in the direction where you want water to drain. If the diverter is flat, water will build up and pour out from both sides. Tack the metal down with roofing tacks to secure the rain diverter in place. Then apply roofing cement to seal the diverter to the shingles.
Installing Gutters
Installing a rain gutter is very similar to the process listed above. However, there are a few key differences and more steps when it comes to gutters. These devices run down the side of your house and bring water away from the ground floor.
1. Measure & Cut
You will first need to measure the roof where the gutter will go and cut the metal so it will fit in this area. Begin by hammering a temporary nail into one end of the board. Attach a chalk level line to this point and bring the end down to the other side.
Snap the line to figure out where the gutter will be installed. With this line in place, you can then measure the total length to discover how much of the metal needs to be cut. Cut the gutter and then add the end points to each end to keep water from falling out.
2. Bracket Installation
The next step is to install the brackets. Before you begin, it helps to attach the gutter to the exterior using temporary screws. Allow the gutter to sit about 2-3 inches below where you want it permanently. This will provide you with enough room to install the brackets.
This also helps if you are installing gutters by yourself, because you won’t be able to hold it up alone. Attach the brackets around 2 feet apart. Once they have all been mounted, you can attach them to the gutter and remove the temporary holding screws.
3. Add a Downspout
Gutters will be useless until you attach a downspout to them. This device runs down the exterior and brings water away from the house. The downspout will get installed on the lower hanging section of the gutter (ideally 1-2 inches lower than the high section).
Gravity will do its job and bring water down to this low point. The downspout will then run along the edge of the house and push water out with an elbow. This helps avoid water from splashing onto your siding and it prevents rain from seeping into the basement.
Further Reading
Search Terms
- Rain diverter vs gutter