How Soon Can You Walk on Pavers?
Pavers can be a great option if you’re looking to build a walkway, patio, or driveway. These small blocks are user friendly to install and they look much better than traditional concrete. But how soon can you walk on pavers once they have been placed in the ground?
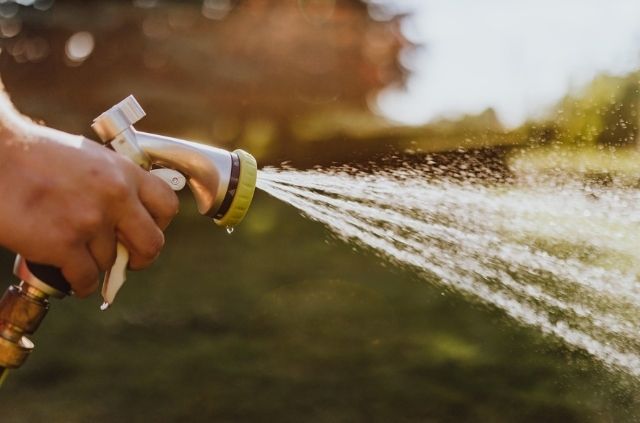
The good news is, you can walk on pavers almost immediately after the installation process. Pavers will be safe for regular use right after joint sand has been applied to the surface. However, if you plan on spraying a sealant, the pavers will need 24 hours to dry before you can walk on them.
The Basics of Pavers
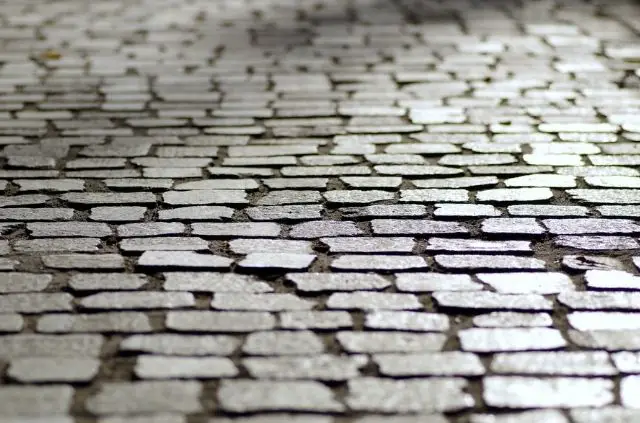
Pavers are small pieces of block that are used for exterior flooring. They can be made out of concrete, brick, natural stone, and other materials.
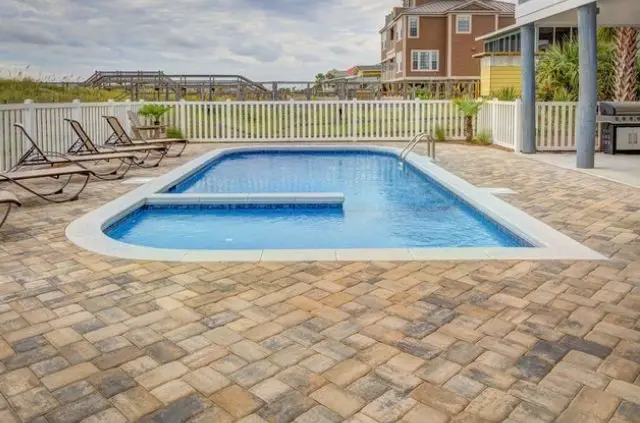
Pavers have become more popular over the years, because they are easy to install and they look much better than concrete and asphalt. If you want to transform your outdoor living space pavers can certainly help.
They come in a variety of sizes and shapes, which makes them the perfect choice for home renovations. Pavers are also very affordable, so you won’t have to spend thousands of dollars on building materials.
How Soon Can You Walk on Pavers?
If you have ever seen concrete being poured out of a cement truck, you know how long it takes to dry. That’s because this mixture requires a certain amount of time to settle.
You won’t have this problem when it comes to pavers, as you can walk on them right after they have been installed. The only factor to keep in mind is if the pavers have a sealant. A high quality sealant will strengthen the exterior of the block and make it harder to chip.
Sealants can also protect the pavers from harmful UV rays and prevent discoloration. The only problem is that you will need to wait 24 hours for the sealant to cure, before walking on the pavers.
How Long Does Patio Sealer Last?
Patio sealer can last anywhere from 3-5 years, but this depends on a number of different factors. Similar to other products, a high quality sealant will last longer than a cheaper brand. The area you live in will also determine how long a sealer lasts.
If you live in a climate that experiences different seasons, your patio sealer won’t last as long. That’s because changing weather conditions will quickly wear down on the pavers, as the surface will be subject to snow, ice, humidity, and moisture.
Paver Installation Process
Building a patio from pavers is a fairly straightforward process. Regardless if you’re doing this project yourself, or if you plan on outsourcing it. Understanding the installation process will help keep your patio lasting for a long time.
1. Measure the Surface
It doesn’t matter if you plan on building a sidewalk, patio, or driveway – it’s important to map out the project ahead of time. The biggest thing you need to do is figure out how much material you will need. This means measuring out the length and width of the surface to find out the total square footage. You can buy the amount of pavers with this number.
If you plan on building a 20′ by 20′ patio, you would multiply these numbers together. As a result, you would end up needing 400 square feet of pavers. Never purchase the exact amount of material, because mistakes can happen during the building process. It’s safe to buy a little more material just in case a piece of block breaks.
2. Remove Soil
Once you have figured out how many pavers are needed for the project, you can begin by removing the soil. Use a shovel to dig around 8 inches of dirt and set it aside. Obviously the larger you want your patio to be will require more work. For big jobs, you can skip the shovel altogether and rent out a heavy duty excavator to make things easier.
It’s important to calculate a slope when removing this soil. You don’t want the patio to be completely flat, as this will cause water spots from improper drainage. The standard formula says you should allow 1 inch of height, for every 8 feet in length. This gradient will help rainwater drain off the patio and prevent water pooling up under the pavers.
3. Add a Base Layer
When you have removed enough dirt and flattened the soil, it’s time to create a base layer. This is a very important step in building a paver patio that some people skip doing. A base layer is made up of medium grade gravel, sand, or a mixture of both. This will prevent the pavers from sinking due to changing climate conditions and normal use.
Begin by pouring the medium grade gravel over the freshly packed soil. You will want to spread out as much of this as possible, before compacting it down. After the gravel has been installed, you can top it off with a layer of sand. Use a piece of wood and drag it across the sand, in order to ensure the surface is flat before moving on to the next stage.
4. Lay Down the Pavers
Installing patio pavers can be overwhelming if you’ve never done it before. The most important thing to remember during this step is sticking with a consistent pattern. There are many different patio pattern ideas you can find on the internet. Some will require different size blocks, while others stick to one size only.
It helps to map out your pattern ahead of time on a piece of paper, to keep you from getting lost. Once you have figured out what style will work best, you can begin to lay down the pavers. You should start on one corner of the patio, as this is they best way to lay down pavers. This method will also minimize the amount of cutting involved.
5. Apply Joint Sand
You’re probably wondering if it’s too soon to walk on pavers at this point. The answer is no, but it’s still a good idea to spread out joint sand across the surface. Joint sand (also called polymeric sand) will strengthen your paver patio and prevent the blocks from shifting and sinking over time. The blocks would be unstable without this material.
It’s very easy to install the joint sand, because all you need is a handheld broom. Begin by walking around the patio holding the bag and spreading the material evenly across the entire surface area. Then use the broom to gently sweep the entire patio. This process will push the sand further in between the paver blocks as a result.
Final Thoughts
This article began with a question: how soon can you walk on pavers? You have now learned that it’s possible to walk on this exterior surface immediately after installation.
Pavers are unlike concrete and asphalt, because they don’t require any time to settle. However, if you choose to apply a high quality sealant, the pavers will require 24 hours before you can walk on them.
Sealant is a must have for homeowners, because it will keep your patio finish protected. This product will prevent your pavers from fading and it will protect the surface from the harsh elements of nature.
Further Reading
Search Terms
- How soon can you walk on pavers?
- How soon can you walk on paver sealant?