What are Pavers? Your Questions Answered
Have you ever wondered what are pavers and why are they so trendy? Pavers can be a perfect addition to a home if you’ve been looking to transform your outdoor living space into a designers paradise.
These pieces of block are a very popular building material when it comes to landscaping. Even if you have limited experience with outdoor projects, the interlocking design makes them very easy to install.
What are Pavers Made of?
Pavers can be made out of concrete, clay, natural stone, and brick. The biggest difference between all of these options is the overall shape, size and color. Concrete pavers can range from small to large, where clay and brick pavers are only available in smaller sizes and they are known to chip more easily.
Each type also comes in a range of different colors. Clay and brick pavers are more natural and have a limited number of options. But concrete can incorporate a variety of colors for a unique finish. Most patio pavers are made out of concrete, because of they are aesthetic, easy to install, and don’t cost much.
What are Pavers Used for?
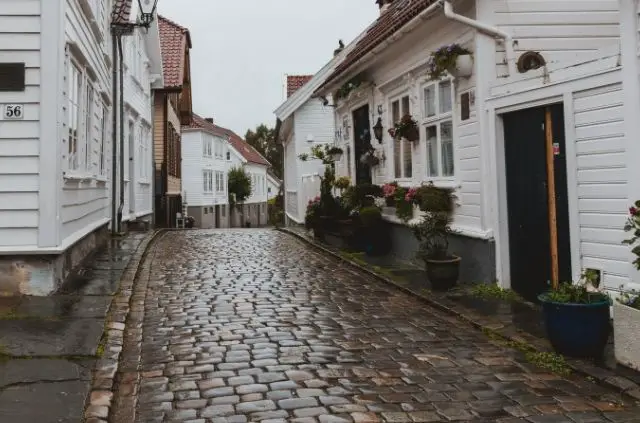
Concrete pavers can be designed to interlock with each other, which makes them an ideal choice for building patios, walkways, and driveways around your house. This material is most popular on exterior surfaces around the home, but it can theoretically be installed anywhere depending on the customer’s preference.
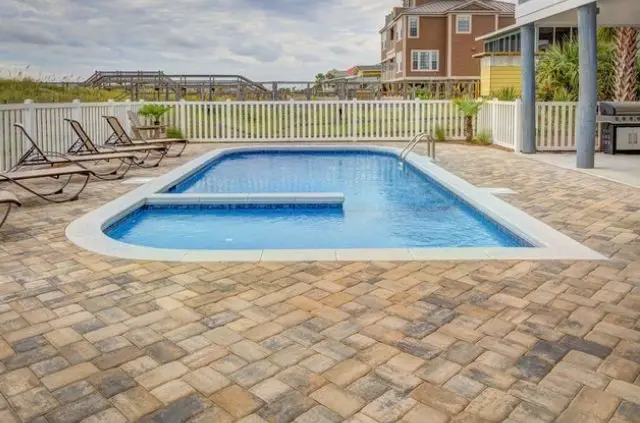
Pavers can also be used around the perimeter of a pool. They have slightly more texture compared to stone, which makes the surface a little harder to slip on when wet. Pavers are very durable, because they are chlorine and salt resistant. The joints in pavers can also absorb moisture, which helps cool the surface in hot weather.
How to Install Concrete Pavers
If you want to install concrete pavers correctly, it’s important to follow all of the necessary steps. There’s a lot more to it than throwing down the blocks and applying some pressure with your feet. Let’s take a look at how you can install pavers the right way.
1. Map out the Area
It doesn’t matter if you’re building a patio, driveway, or sidewalk. Mapping out the area sets the foundation for a successful project. You first want to measure the entire surface where you plan on laying the pavers. If you’re building a square patio for example, put a stake down in each corner, so you can figure out the square footage.
Then multiply the length and width to figure out the total square footage. If the area is 15 feet long and 15 feet wide, the square footage would be 225 feet. This is an important number to remember, because it will be the exact number you will need when buying concrete patio pavers. You should always buy a little extra to stay on the safe side.
2. Level the Ground
You never want to lay pavers or any other kind of material on uneven ground. It will look ugly, won’t last, and lack proper drainage. The good news is, a small section of of ground can easily be leveled without any heavy duty equipment. All you need is a string line level, shovel, two stakes, and a little bit of patience.
Attach one end of the string to the first stake located at the corner of the patio. Then connect the other end to the stake at the opposite corner. Secure the line level to the middle of the string so it doesn’t move. Pull tightly on one end of the sting until it’s level. Mark the difference on the stakes and move the dirt from one end to the other.
3. Lay a Base
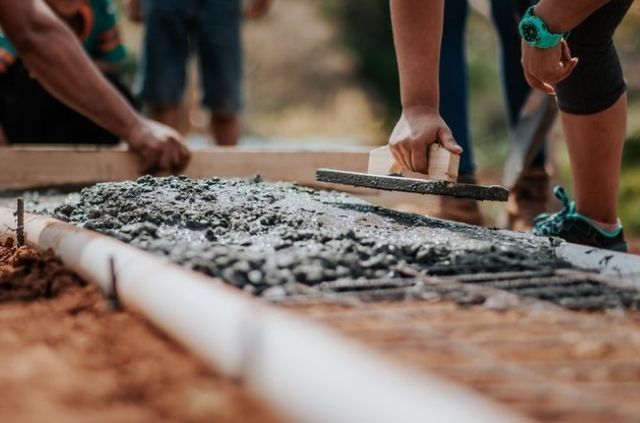
Once the dirt has been properly leveled, you can lay a base. Laying pavers directly on soil will shift over time from the combination of rain and people walking on the surface. Start off by laying down geotextile on the dirt to help with compacting and settling. Then you want to spread gravel on top of this layer to provide a solid base for the pavers.
For a patio 4″ of gravel should be enough for normal foot traffic. When the gravel is down, the last step is to pour concrete sand for extra security. The sand will allow you to make the surface as flat as possible, before laying down the pavers. You can do this by dragging a flat board across the sand, to ensure there are no imperfections on the surface.
4. Install the Pavers
Now that the preparation work is finished, you can finally install the pavers. This step will vary depending on which kind of pavers you purchased. For interlocking pavers you will need to follow another method. The general idea is to start at one end of the patio corner and lay the stones down one by one. Start at a triangle and work your way out.
It’s critical to set the pavers straight down and avoid dropping them at an angle. If you were do to this, one end of the stone will dig into the sand that was perfectly level. This will create an uneven patio and the results will look unprofessional. You also want to avoid dragging the pavers across the sand or stepping on them with too much force.
5. Final Touches
When you have successfully installed all of the pavers, you can apply the finishing touches. You can place edging stones around the perimeter to further strengthen the patio. Or you can put down paver edging, which is a durable plastic materiel that sits level with the paver stones. This won’t look as good, because the black plastic will be visible.
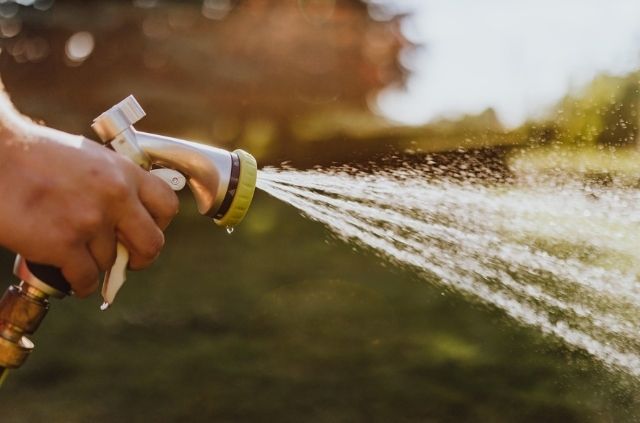
After the edges have been secured, the final step is to apply paver locking sand. This will further strengthen your patio by filling in the gaps with compact sand in between the pavers. Pour the polymer joint sand across the entire surface and use a broom to push the material in between the stones. Use a hose when you’re done to spray off any remaining sand.
Things to Consider:
Free up your weekend
I can’t tell you how many projects I’ve started that ended up taking more time than I wanted. Even simple things like waxing my car takes at least an hour longer then expected. And when you feel rushed the results will look sloppy.
The truth is, you will encounter some setbacks if you’ve never worked with pavers before. There will also be time you didn’t factor in like measuring and cleaning up. That’s why it’s important to free up your entire weekend, even if it doesn’t end up taking that long.
Check the Weather
If you’re a do-it-yourself type of person, chances are that you will want to tackle this project on a weekend. But what if the weather is bad? Unfortunately we can’t control the weather, so make sure to keep an eye on the forecast ahead of time.
Choosing to work in bad weather is dangerous and the end result won’t look very good. You certainly don’t want to be outside if an afternoon thunderstorm rolls through. And the rain will create puddles making it near impossible to lay pavers down correctly.
Conclusion
Hopefully this article has helped you understand everything there is to know about pavers. Pavers are affordable and they’re a great way to brighten up your outdoor living area. If you plan on doing the job yourself, make sure to follow all of the steps listed above, so the results will last.
Further Reading
Search Terms
- What are pavers?
- What are paves made of?